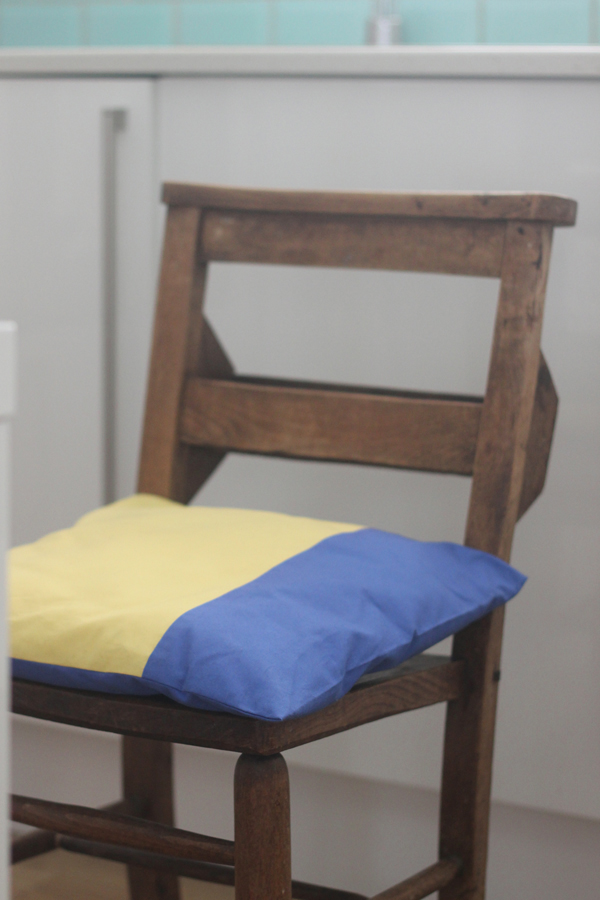
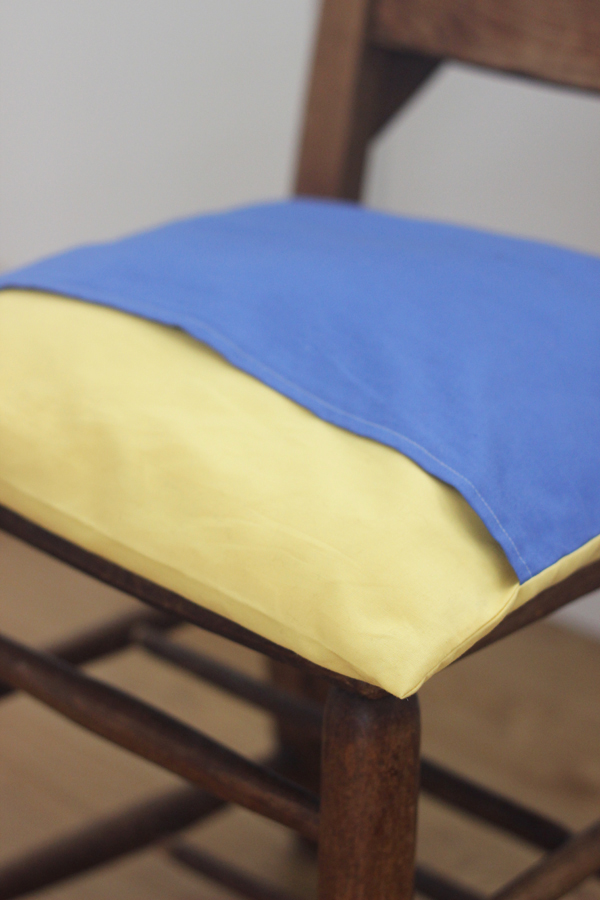
I’ve made no secret of the fact that I’m a novice when it comes to using my sewing machine, but I’m getting braver. I got it out in the run up to Christmas to make my DIY felt triangles garland, and then last weekend I headed down to Kat’s house for a day of crafting with some fabric, where the clever and very patient Kelly was ready to teach me to make a basic dress for my daughter Ez.
Kelly makes sewing look easy so I was thrilled when she offered to write me a tutorial on how to make a colour block envelope cushion. She swears there’s nothing to it. I have to admit that she made this cushion and gave it to me, but I promise that I will have a go at making one myself as soon as I get the chance. I have the perfect craft spot now, so there are no excuses.
Without further ado I shall hand over to Kelly, with her easy step-by-step instructions…
You will need:
- 2 fat quarters of solid colour fabric of your choice.
- Sewing machine
- Thread
- Scissors or rotary cutter
- Tape measure or ruler
- Pins
Step-by-step:
- Start by ironing your fabrics and cutting them into rectangles that measure 16.5” x 22”. Lay the two fabrics on top of each other. If you are using a patterned fabric instead make sure the right sides of your materials are facing each other.
- Sew a seam down one of the short edges using the edge of your sewing machine foot along the raw edges of the fabric as a guide. I have used a thread that shows up for the purpose of this tutorial but you can use a matching colour if preferred.
- Press the seam with the iron, making the seam allowance lay towards the darker of the two fabrics so it will not be seen from the other side.
- At this point I got my cushion pad and wrapped the fabric round it to decide which colour I would like more of on the front of the cushion. I chose to have yellow as the main colour. Remove a strip 3” wide of the fabric down the short side of the colour you want less of on the front of the cushion. In this case that was the blue.
- Fold over one short edge by half an inch. Press. Repeat a second time, and press again, creating a hem. Repeat for the other side.
- Sew along both hems, using the edge of your foot as a guide again to fix them in place.
- Lay the fabric out right sides facing up towards you with the shorter colour on the right. Starting with the shorter colour, measure 5” along the bottom edge from the middle seam and add a pin. Repeat on top edge.
- Next measure 16” to the left from the pin in the bottom edge from the middle seam and add another pin. Repeat for top edge.
- Using the pins as a guide fold over one side. Repeat on the other side so you are creating the envelope shape. Fix in place with pins and remove the ones in the corners.
- Sew down each edge as before, taking care to catch all the layers and get a nice straight seam. Once sewn remove pins and use pinking shears to trim the seam allowances to prevent fraying. You could also do this using a zigzag stitch on your machine near the edge. Turn right sides out and press and then add your cushion pad.
Pop it in its new home and admire your handiwork!
Follow Kelly’s blog, and on Twitter and Instagram so you don’t miss any of her fantastic sewing projects.


Leave a Reply