Last Friday I spent a wonderful day with some really talented bloggers at a beautiful location house in Sussex for a day of photography and fun (see the hashtag #farmbloggers on IG and Twitter for some great snapshots). I’ll be writing a post about the day itself this week hopefully, but in the meantime I wanted to share these pictures of the concrete planters and candleholders that I made in the run up to the farm trip.
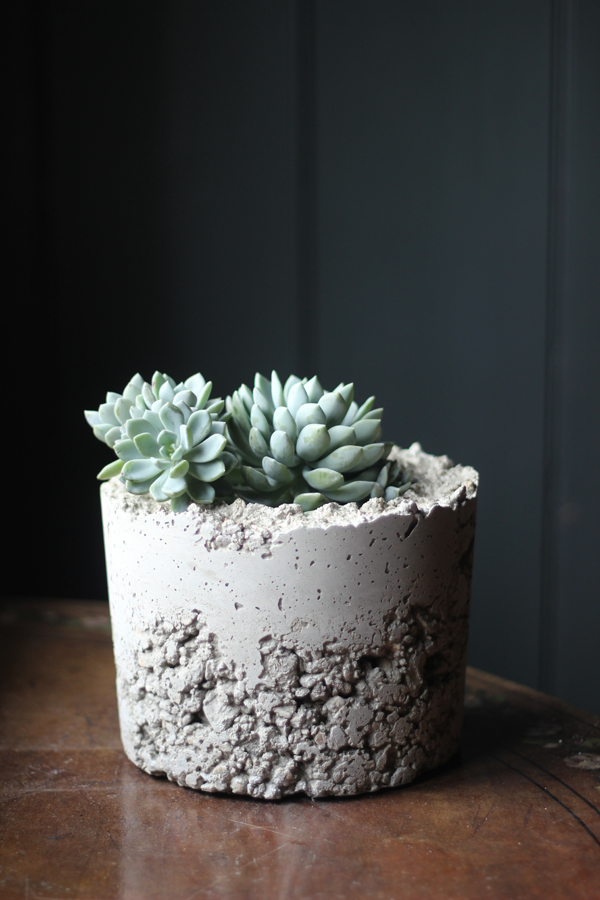
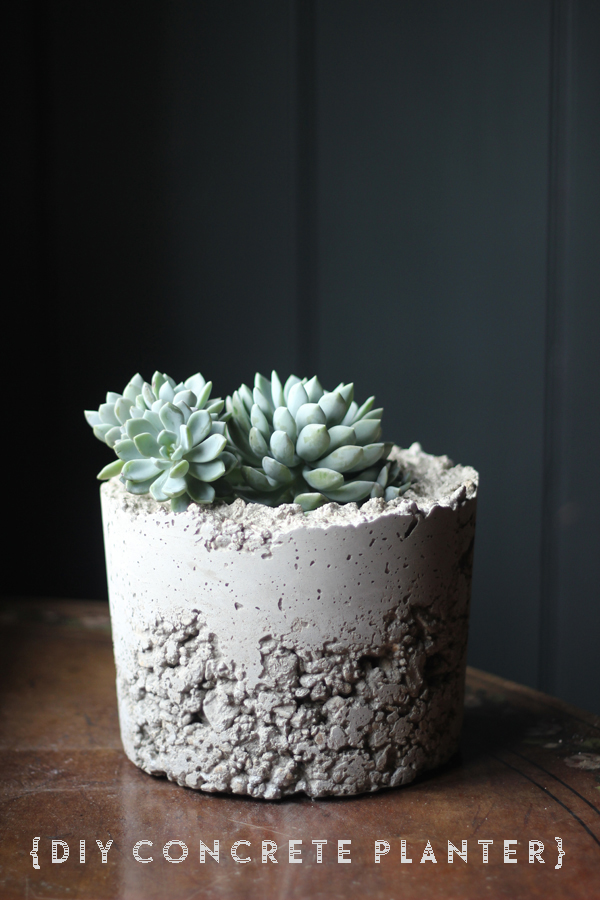
The above concrete planter was made using ballast (a readymix of sharp sand and small stones) in the concrete mix and I love the roughness of the texture at the bottom against the smoother section above it.
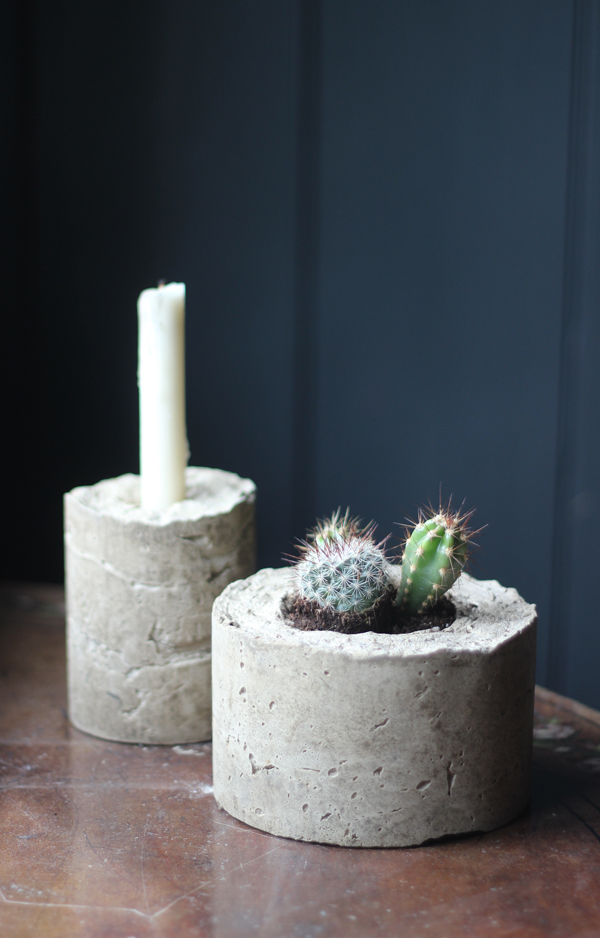
The planter and candleholder above was made with a sand-based mix to give the concrete a much smoother finish. I left the top of the pots rough for contrast (you can sand them down for a sleeker look).
After meeting the very charming Igor on Friday, I really wanted to write up my concrete planter post to join in with his and Judith’s Urban Jungle Bloggers series. This month’s topic is spring or Easter styling, and I think my planter would make a great centrepiece for a table set for Easter lunch. For loads more Urban Jungle ideas visit Igor and Judith’s Urban Jungle Bloggers Pinterest board.
There are some excellent online tutorials for making your own concrete planters already around (I liked this from Simply Sofie and this one from Little House Blog), but here are my own instructions:
- Choose the containers to use as moulds for your planters or candleholders. You’ll need two for each pot – one to create the outside form, and then a smaller one to create the void in the middle. I recommend making the wall of your planter at least 1.5 inches thick, or the walls of the pot might crack and crumble when you try to get it out of the mould. I have also heard that you can use cardboard containers, and that the cardboard is much easier to peel off when the concrete has set than plastic or metal.
- Mix up your concrete. We made two mixes – one using building sand (for a smoother finish), and one using ballast (a readymix of sharp sand and small stones that creates a rougher texture). Mix one part cement with four parts sand/ballast, and add water to create desired consistency (we read that we should be aiming for something similar to peanut butter). Wear gloves as the concrete isn’t kind to your hands.
- Fill the moulds with concrete. For the thinner mix (using the sand) it was possible to pour the concrete into the main container, and then push the smaller container in afterwards. For the thicker mix (using ballast), I found it easier to put the smaller container into place, and then scoop the concrete into the void. I actually pressed it down with my fingers after each scoop to make sure it filled the space completely.
- Leave to dry and then turn out of the moulds (easier said than done). I kept going back to the pots while they were drying to wiggle the inner container a bit so that it wasn’t too tight when it came to pulling it out at the end. Getting the pots out of the moulds was pretty challenging, because we’d used substantial containers that were hard to peel off – we used a saw or stanley knife to break through the mould and pull it away from the concrete. Once out of the moulds, I left the pots to completely dry on our kitchen floor (with the underfloor heating on).


This looks fabulous, Heather! You’re totally right: these planter would make a great centerpiece on an Easter brunch table. I’m definitely going to try this (again). I hope thanks to your handy tips & tricks I’ll finally succeed. Thanks for being part of our green adventure!
Thanks Judith. I need to work out the best spot to keep it in my house. Good luck next time you try it!
Welcome to our little green family, Heather! So happy you are with us! And I love your concrete planter – lucky me, I had the opportunity to see and touch it live:-)
Thanks for introducing me to the family Igor! I’m so glad you like the planter x
Beautiful creations! Here’s a tip: put a thin coat of vegetable oil on the sides of the containers and it will be easier to separate them from the dried concrete! Hope this helps all you creative folks!
Good tip. I did read that somewhere, and then read another post that said it didn’t help! I’ll try it next time though as I can’t see that it would make it any harder.
Try using dye to add cool marble effect.
Oh that’s a great idea! I’ll definitely give that a go. Thanks!
This looks amazing (gorgeous light in the photographs too) – may I share it? Def going to try this one out myself.
Thanks Bethan! Please share away x
Love it! X
Thanks 🙂
FAB-just brilliant Heather. Will give them a go! 🙂
Thanks Caroline – good luck!
This is awesome!!! Can I ask, where did you buy your cement from? Do I just go to b&q and buy a bag of ready mixed stuff? Thank you!!!
Sorry for the delay getting back to you Celeste. I’m pretty sure we bought ours at a DIY shed like B&Q but I just want to double check with the other half. I’ll come back to you!
Love these!! Totally trying this ASAP