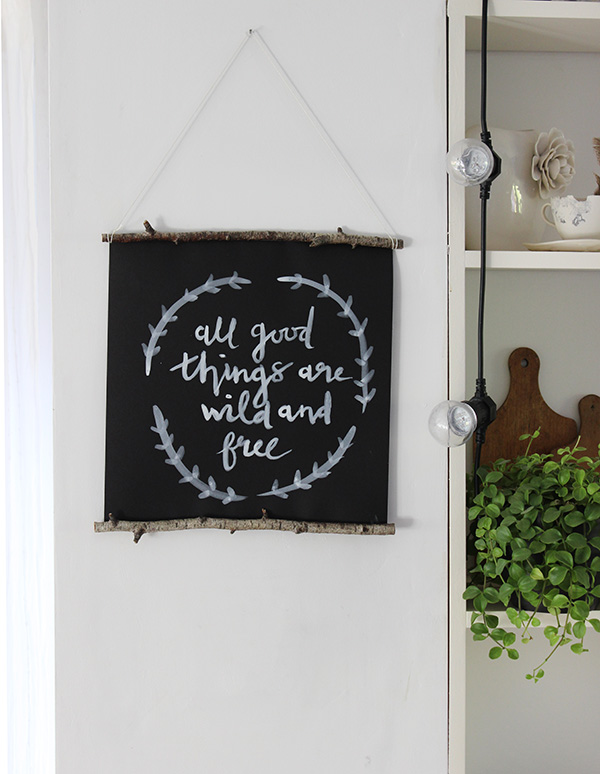
 This DIY branch wall-hanging is another of the gifts I made this Christmas (I had to borrow it back from my parents this weekend, as I didn’t get a chance to photograph it in the crazy run up to Christmas itself). I’ve loved receiving the first two of Fran’s We Make Collective subscription kits (check them out – they’re all kinds of awesome) – the latest contained everything I needed to have a go at calligraphy and hand lettering. I’ve tried to teach myself calligraphy in the past without a great deal of success (I’m desperate to go to a workshop), so I decided I’d focus on hand lettering instead, and actually found it much easier to write with a brush than a nib.
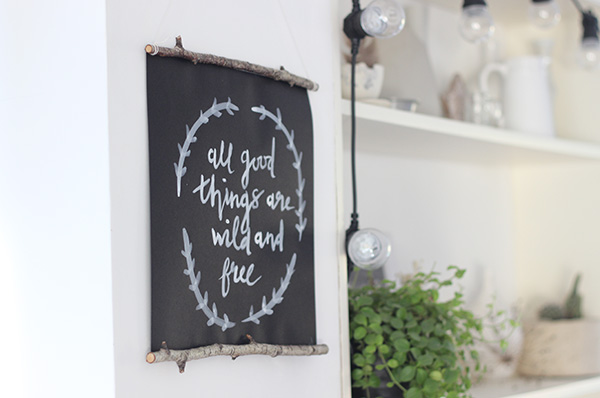
I made two wall hangings to give as gifts this year. The first was for my father-in-law, to be paired with a copy of ‘Norwegian Wood’ by Lar Mytting (a whole book about chopping and stacking firewood) and it read ‘Chop your own wood and it will warm you twice’. The hanging above was made for my parents. Now that they’re retired, they love nothing more than heading off in their motorhome, whether it’s to explore what the UK has to offer, or to venture further afield (last summer they did a road trip that took in France, Germany, Italy, Croatia and Slovenia – how jealous am I?) and they’re keen ramblers, so the quote, ‘All good things are wild and free’, seemed to fit them perfectly.
 I used white ink and the water-brush pen to write out my quote on black card (after a fair amount of practice beforehand both to get the lettering right, and the positioning). I did have to go over the words a few times to make the white stand out this strongly against the black (and this has slightly spoilt the definition of the letters), but for a beginner I’m pretty pleased with how it’s turned out. I then drew the wreath border to frame the words.
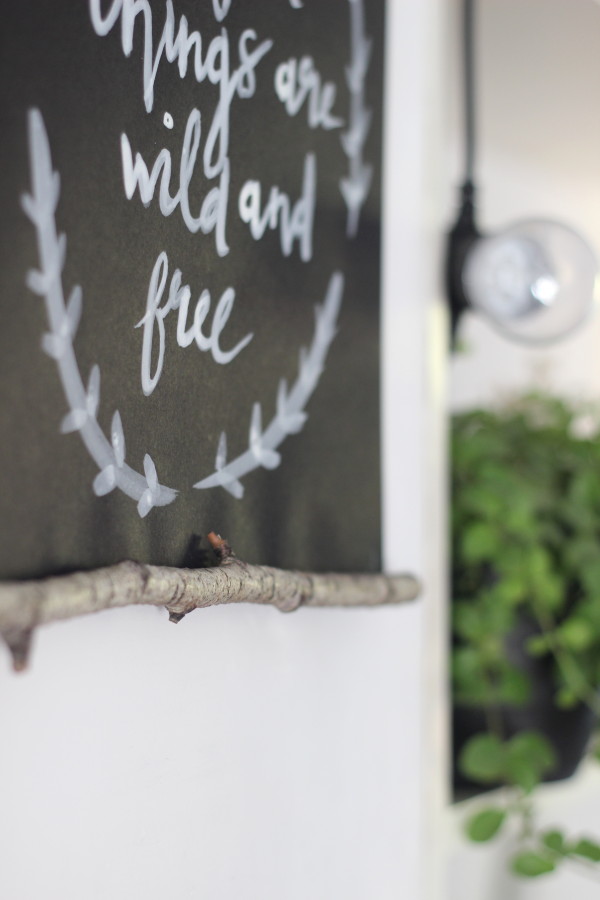
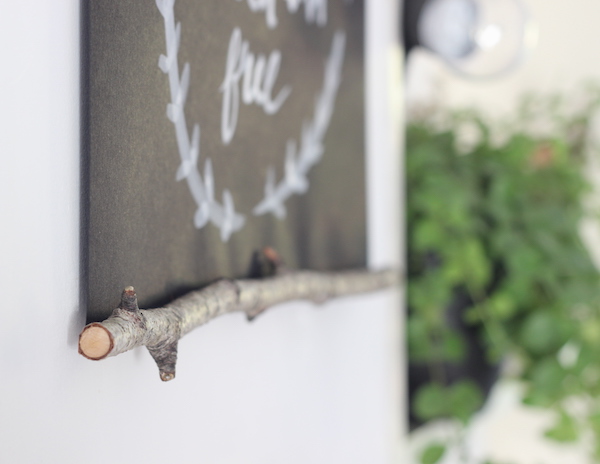
 On a Christmas Eve stomp in the woods (yes, I was making my gifts this lastminute), I gathered some branches of silver birch that I wanted to use to hang the picture. I was after pieces that were about 1.5-2cm diameter and were reasonably straight. Once we got home I cut these to size (aboout 2cm longer than the width of the card), and then used a hot glue gun to fix the top and bottom edges of the poster to the back of the sticks, with the stick overhanging each side by about 1cm (it doesn’t look very pretty from the back, but you can’t see the glue from the front!). All it took was a length of simple white cotton thread tied to each end of the top stick, which can then be looped over a nail or knob to hang.
 Once again, I almost didn’t want to give the wall-hanging away, but I consoled myself by reminding myself that I can easily make one for our own home. All I need to do is decide on the perfect quote…
Follow Heather Young’s board for words to live by on Pinterest.
I’m linking this post up to this month’s Create Make Share linky hosted by myself, Zing Zing Tree and Kids Craft Room. Don’t forget to share anything you’ve been creating this month, too.

Leave a Reply