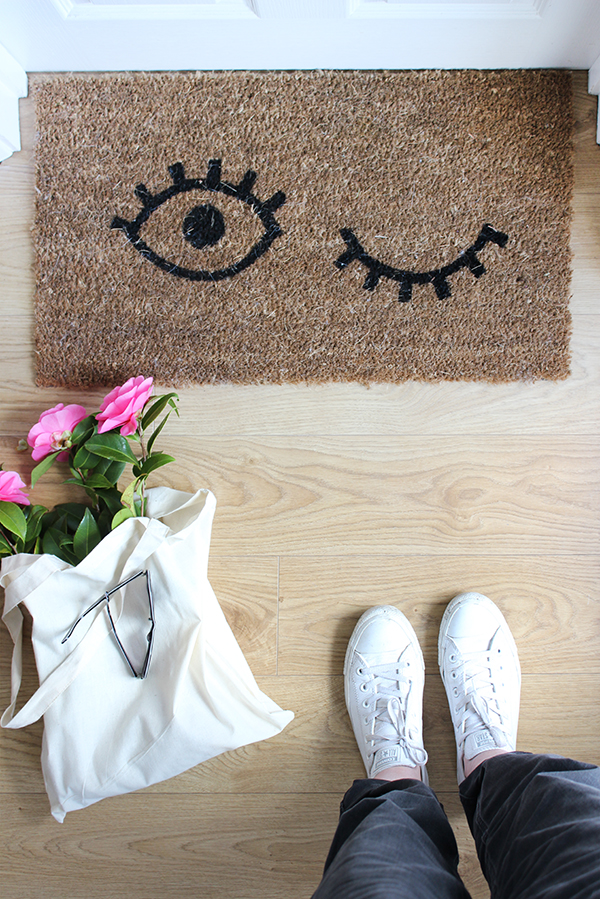
We have only recently been able to have doormats in our house (I could go into detail about the dirty protests our old cat used to make whenever we put a mat down, but to be honest you really don’t want to know too much). It sounds so silly, but it’s really amazing the difference it makes, and not only from a practical point of view. Somehow just the addition of a doormat at the front and back doors makes the house feel more pulled together and considered. It goes to show how big an impact the little details can make around your home.
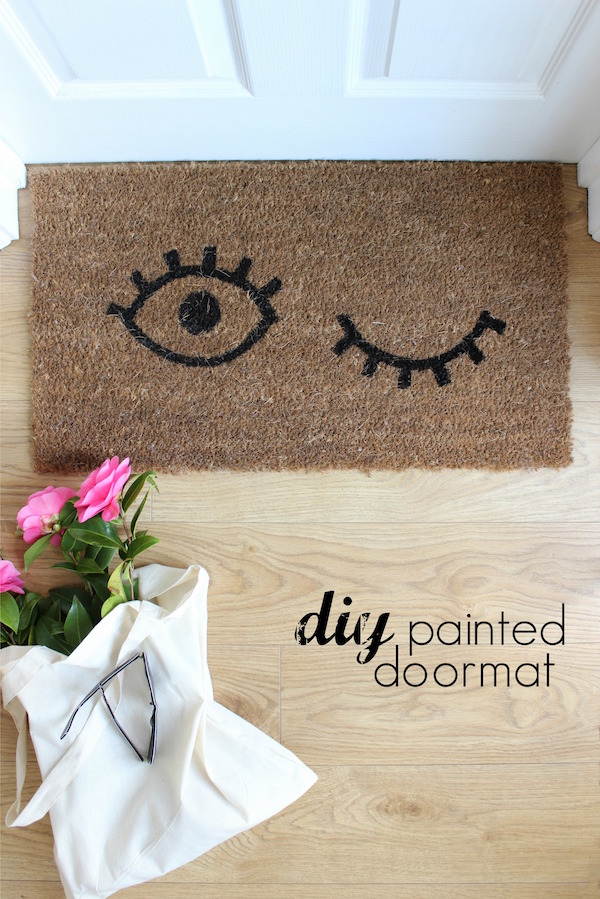
Because we weren’t sure how our other cat would deal with the additional of a mat, we went for the cheapest we could find, pretty sure that they would be heading for the dustbin in a matter of days. But we’re a couple of months in now and there have been no incidents, so I decided that I was safe to give our basic, boring doormats a quick update to add a bit of personality and fun.
I was so impressed at how easy this DIY actually is. The hardest part for me was making my stencil (a simpler design would be way more straightforward), but I’ve been wanting to print something with an eye design ever since I saw Lori’s printed cushion covers at the end of last year, and this seemed like the perfect opportunity.
Here’s how you can give your own plain doormat a quick and easy update…
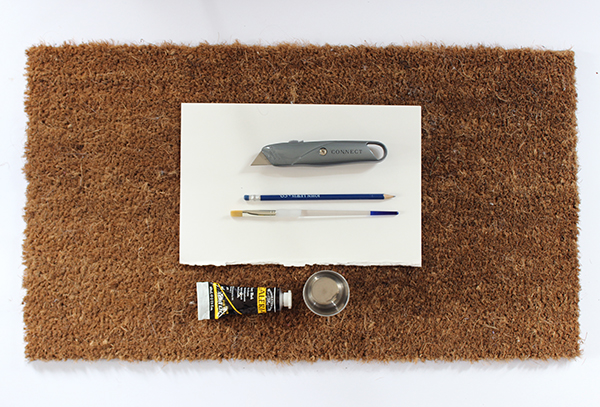
You will need:
A coir doormat
Card
Pencil
Stanley knife or craft knife
Masking tape
Flat paintbrush
Black acrylic paint
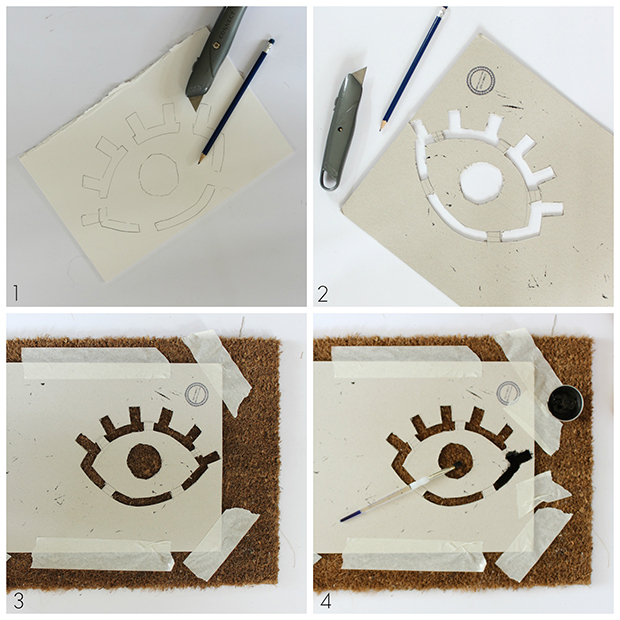
Directions:
- Draw your shape onto the card to make a stencil.
- Using a craft knife, cut out the areas that you want to be painted in the final design.
- Position the stencil onto the doormat, and hold in place with masking tape.
- Using a stippling action, apply the black acrylic paint to the doormat, making sure to push it right down into the bristles so that the whole area looks black.
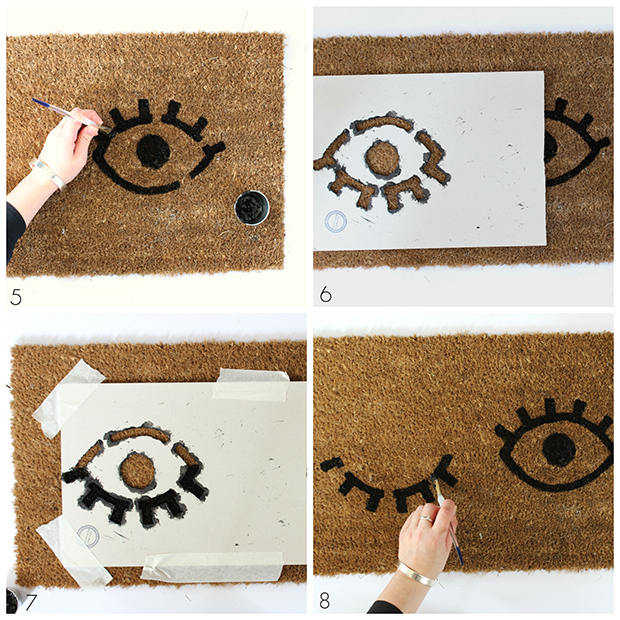 Carefully remove the stencil, and fill in any missing areas left by the stencil with black paint.
- Turn the stencil 180 degrees so the eyelashes face downwards and position next to the eye you’ve just painted (make sure the corners of the eyes line up).
- Apply the paint as in step 4, but only fill in the bottom line of the eye and the lashes, to create the effect of a winking eye.
- Once again, remove the stencil and fill any gaps with paint, then leave to dry thoroughly.
Leave a Reply