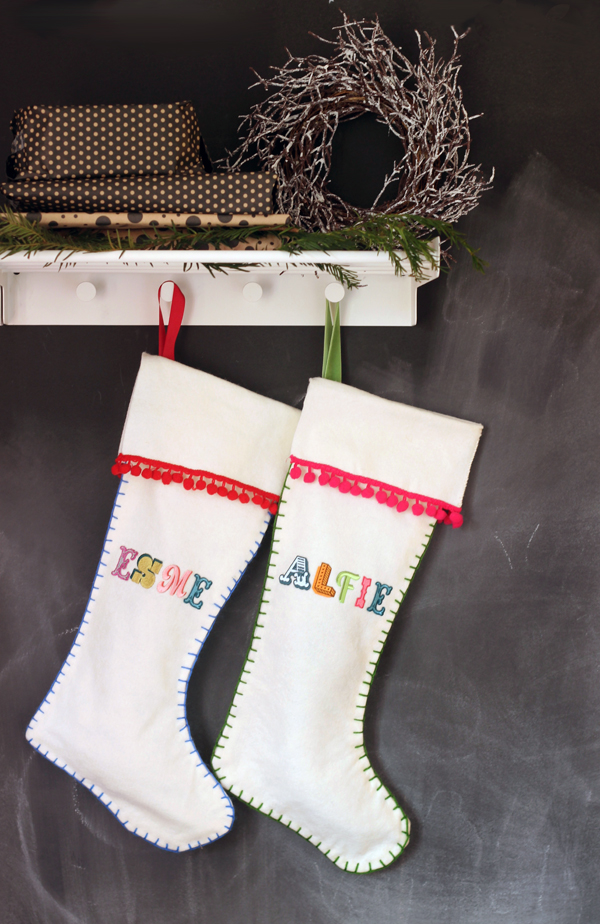
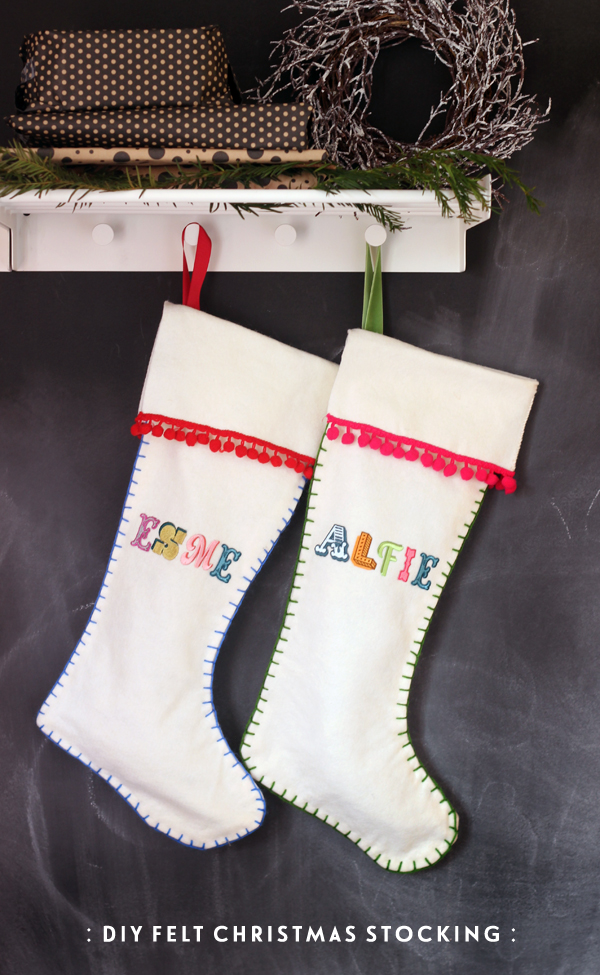
 I’ve been searching for the perfect stockings ever since the twins were born, but I’ve never managed to come up trumps (probably because my searching usually consists of a mad panicked dash round the shops when they’re packed in the week before Christmas). But when I got sent the Jennie Maizels iron on alphabet patches for my cushion craft a few weeks ago, I immediately thought how BRILLIANT they would for personalising stockings, and I decided there and then that this would be the year the twins would finally have stockings that I hope they’ll keep forever (the stocking I had as a child features heavily in all my memories of Christmasses past).
 I used natural felt to make the stockings, and here’s how I did it…
1. Double up the felt and draw an outline of your stocking (I drew around an existing stocking), adding a seam allowance of 1.5cm around the edge and 10cm at the top for the cuff. Cut out with fabric scissors (cut both layers so that you make two shapes at once).
2. Pin the two sides together and then sew around the edge (start and finish your sewing 10cm from the top or you’ll have trouble when you try to turn down the cuff later).
3. Turn right way out and go round the edge with blanket stitch (here’s that tutorial I love) using embroidery thread in a contrasting colour. Again start and finish 10cm from the top.
4. Fold over the cuff, and hand sew the front and back edges on the toe edge. Sew some pompom trim (mine’s from Buttonbag) along the bottom edge of the cuff. Sew on a loop of ribbon at the top of the stocking (on the heel edge) for hanging.
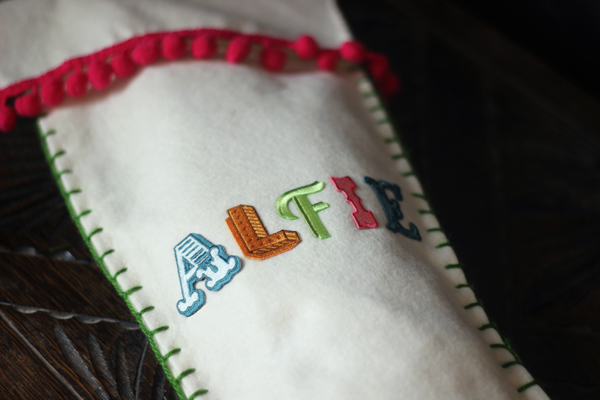
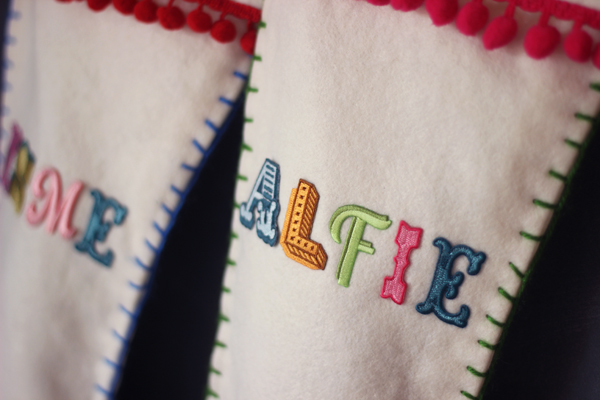
5. Arrange the alphabet patches on the front of the stocking and follow the instructions to iron them in place. I couldn’t get mine to adhere properly with the iron this time (maybe because of the felt?), so I actually went round and stitched the letters in place. I want these stockings to last many years, so that felt like the safest option to me.
Disclosure: I was sent the Jennie Maizels alphabet patches free of charge for use in this post


Leave a Reply